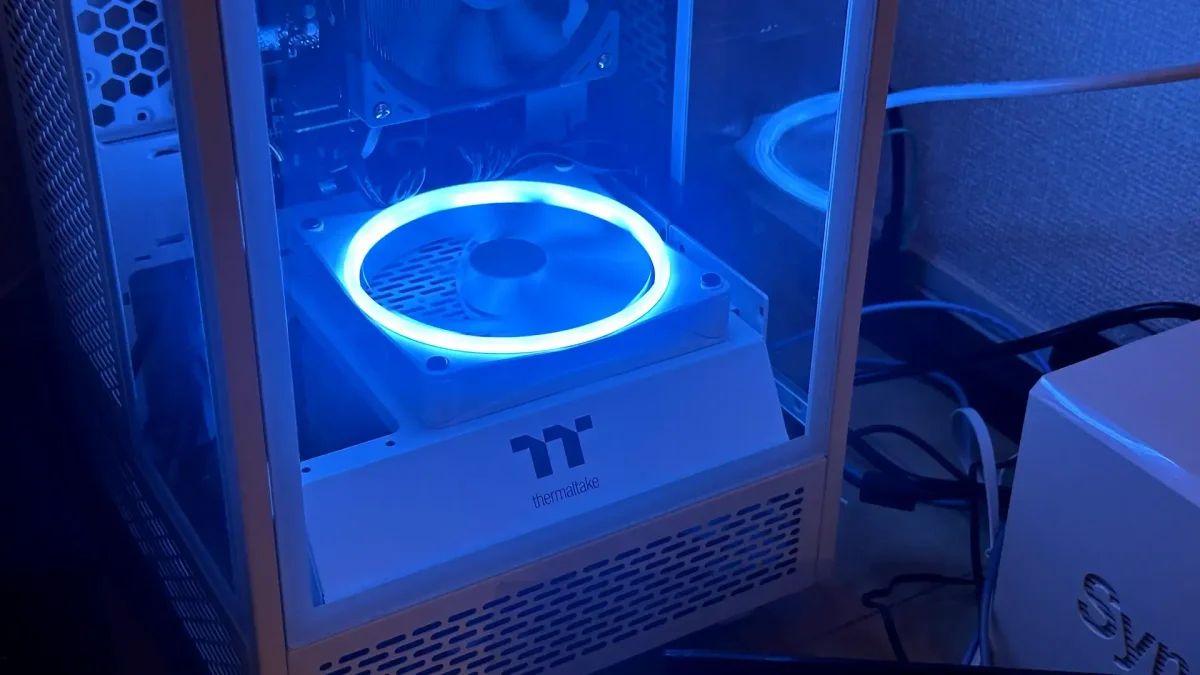
先日自宅サーバーを新しく組んだのですが、インテリア目的としても楽しめるようにRGB LED付きのケースファン(NZXT F140 RGB)を2つ搭載しました。
普通であればNZXT CAMなどを使用してLEDの色などをカスタマイズすることになるのですが、知っての通り対応OSはWindowsのみ。
先日組んだ自宅サーバーにはProxmox VEというDebianベースのOSをインストールしているため残念ながら動きません😢
しかしここで諦めるのは早計です。
OSS界隈にはOpenRGBという有り難いツールがあり、DebianやUbuntuを始めとするLinux環境からでも様々なベンダーのRGB LEDの色がいじれるのです!
クロスプラットフォーム対応かつGUIからもCLIからも操作できる素晴らしいソフトウェアです。
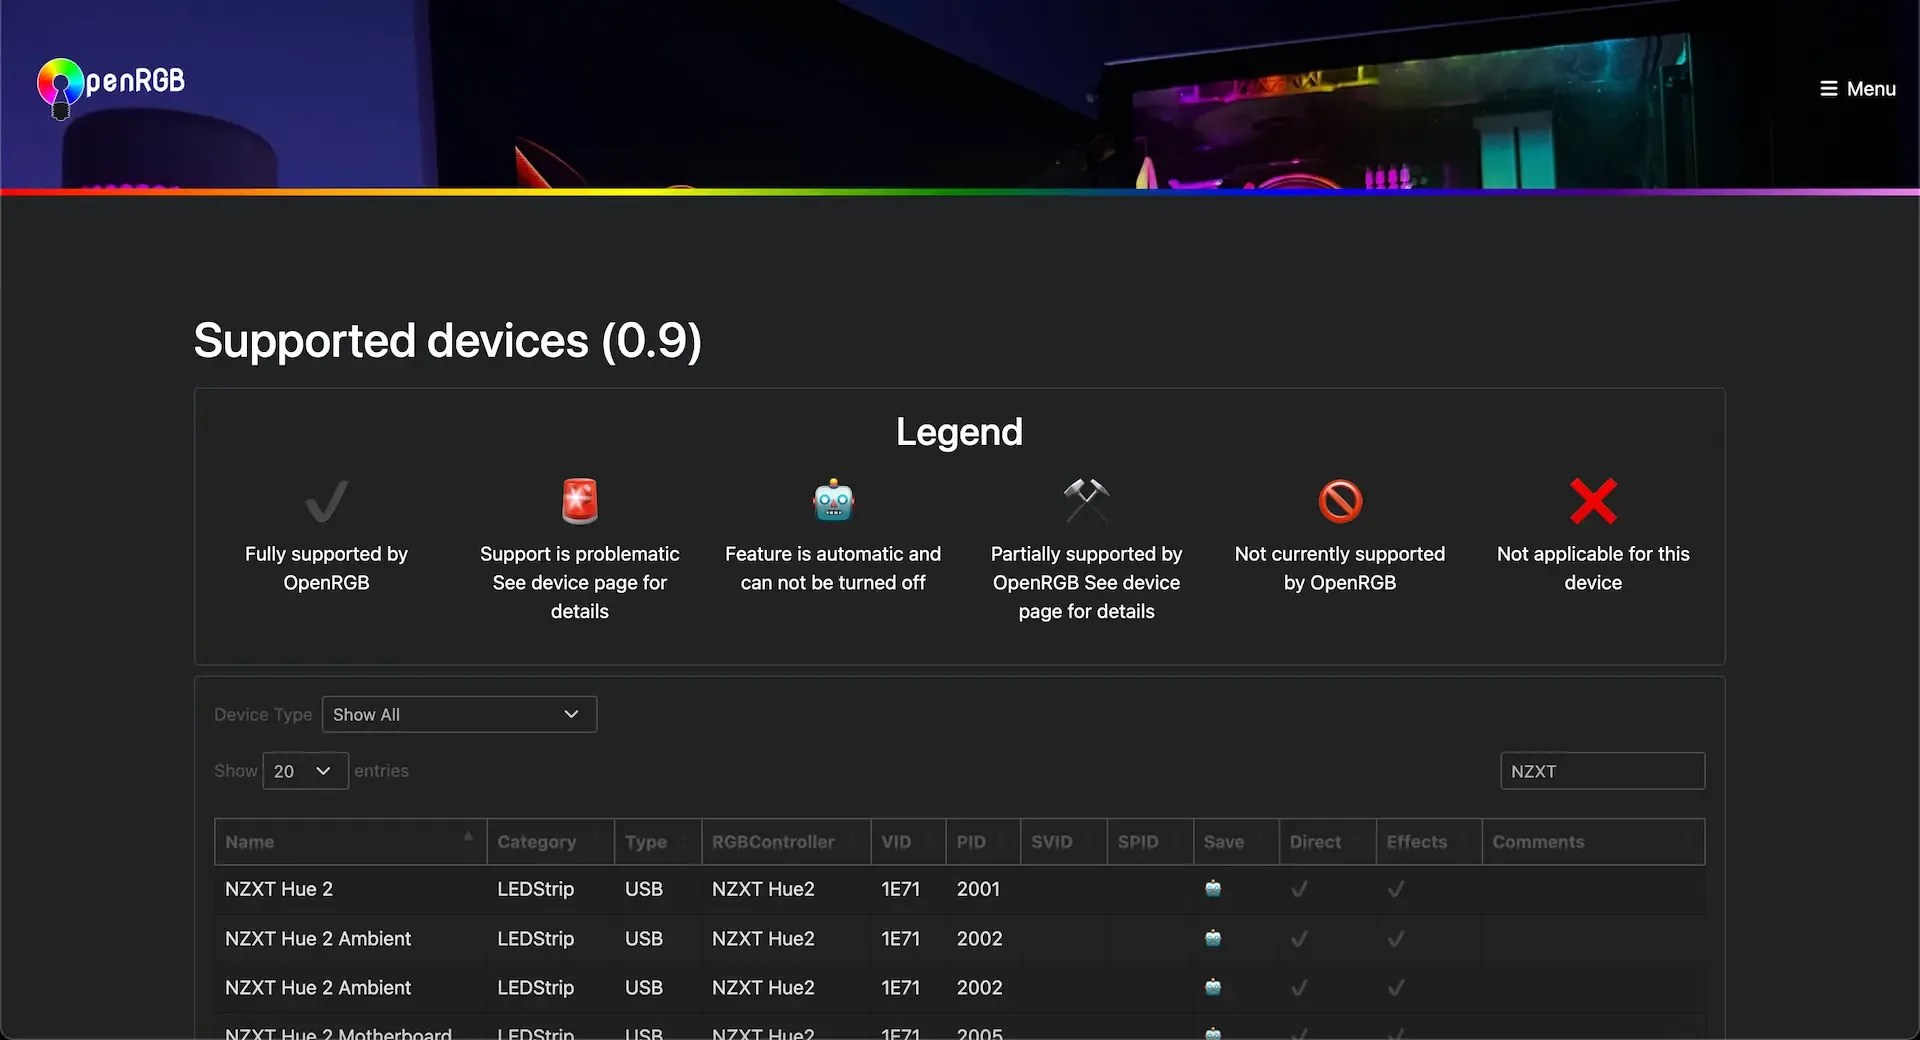
LEDデバイスごとの対応状況はこちらから確認することができ、自宅サーバーで使用しているNZXT Hue2も対応しています。
今回はLinuxへのOpenRGBの導入方法と基本的な使い方に加え、Node.jsを使用した時間帯によってLEDを自動制御するサンプルスクリプトもご紹介します。
OpenRGBのGitHubのREADMEにも記載の通り、リバースエンジニアリングによって得たプロトコルで直接デバイスとやり取りしているため、過去にOpenRGBが原因でRGBデバイスが文鎮化した例もあったようです。OpenRGBのソースは日々メンテンナンスされていますが、RGBデバイスは千差万別なので今後も問題が起きる可能性があるとのことです。メーカー公式のツールではないのでくれぐれも自己責任で利用するようにしましょう!
OpenRGBのインストール
apt経由でも導入できますが、安定性を重視して今回は手動でビルド→インストールします。(手動でやったほうが安定するっぽいです? 参考)
ビルドとインストールはとても簡単で、公式ドキュメントに記載のコマンドを順番に実行していけばOKです。
インストール手順の8番に記載の通り、直接OpenRGBの実行ファイルを指定して実行することもできますが、自分はmake install
してインストールしました。
$ openrgb --version
OpenRGB 0.9+ (git1293), for controlling RGB lighting.
Version: 0.9+ (git1293)
Build Date Sun, 20 Apr 2025 12:47:23 +0900
Git Commit ID 10797f049c73412d482b27e12057fc173189d4c2
Git Commit Date 2025-04-19 01:58:48 -0500
Git Branch master
バージョン情報を確認できたらインストール完了です!
OpenRGBの使い方
今回はとりあえず「LEDの色を変更する」という使い方のみをご紹介します (OpenRGB×NZXT Hue2の組み合わせではLEDカラーを単色でしか操作できなかった🫠)
まずは以下のようにして操作したいLEDデバイスのIDを確認します。
$ openrgb -l
Connection attempt failed
[i2c_smbus_linux] Failed to read i2c device PCI device ID
[i2c_smbus_linux] Failed to read i2c device PCI device ID
0: NZXT RGB Controller
Type: LED Strip
Description: NZXT Hue 2 Device
Version: 1.4.0
Location: HID: /dev/hidraw0
Serial: xxxxxxxxxxxxxxxxxxxxxxxxxx
Modes: [Direct] Static Fading 'Spectrum Cycle' Marquee 'Cover Marquee' Alternating Pulsing Breathing Candle 'Starry Night' 'Super Rainbow' 'Rainbow Pulse' 'Rainbow Flow'
Zones: 'Hue 2 Channel 1' 'Hue 2 Channel 2' 'Hue 2 Channel 3'
LEDs: 'Hue 2 Channel 1, LED 1' 'Hue 2 Channel 1, LED 2' 'Hue 2 Channel 1, LED 3' 'Hue 2 Channel 1, LED 4' 'Hue 2 Channel 1, LED 5' 'Hue 2 Channel 1, LED 6' 'Hue 2 Channel 1, LED 7' 'Hue 2 Channel 1, LED 8' 'Hue 2 Channel 1, LED 9' 'Hue 2 Channel 1, LED 10' 'Hue 2 Channel 1, LED 11' 'Hue 2 Channel 1, LED 12' 'Hue 2 Channel 1, LED 13' 'Hue 2 Channel 1, LED 14' 'Hue 2 Channel 1, LED 15' 'Hue 2 Channel 1, LED 16' 'Hue 2 Channel 1, LED 17' 'Hue 2 Channel 1, LED 18' 'Hue 2 Channel 2, LED 1' 'Hue 2 Channel 2, LED 2' 'Hue 2 Channel 2, LED 3' 'Hue 2 Channel 2, LED 4' 'Hue 2 Channel 2, LED 5' 'Hue 2 Channel 2, LED 6' 'Hue 2 Channel 2, LED 7' 'Hue 2 Channel 2, LED 8' 'Hue 2 Channel 2, LED 9' 'Hue 2 Channel 2, LED 10' 'Hue 2 Channel 2, LED 11' 'Hue 2 Channel 2, LED 12' 'Hue 2 Channel 2, LED 13' 'Hue 2 Channel 2, LED 14' 'Hue 2 Channel 2, LED 15' 'Hue 2 Channel 2, LED 16' 'Hue 2 Channel 2, LED 17' 'Hue 2 Channel 2, LED 18'
今回操作したいHue2はデバイスID0
として認識されているようです。
あとは、
$ openrgb -d 0 -c 0000FF
とすればLEDの色が青に変わります! (cオプションの引数に#
を含めずにHexのカラーコードを指定する)
他にも、
$ openrgb -d 0 -m "Super Rainbow"
とか指定すると虹色に光るはずなのですが、自分の環境では光りませんでした🥲
基本的な使い方は以上になりますが、他にもできることはありそうなので気になる方は$ openrgb -h
で確認してみてくださいね。
Node.jsを使用したLEDカラー自動変更スクリプト
特定の時間帯だけLEDを点灯、かつ点灯する時に彩度・明度最大でランダムな色を生成して設定する、我が家で使用しているNode.jsのスクリプトのソースをそのまま貼っつけておくので必要であればご利用ください。(@sway11466/holiday-jp-npmのインストールが必要です)
import { spawn } from "node:child_process";
import { useHolidayJP } from "@sway11466/holiday-jp-npm";
// --- 設定 ---
const DEVICE_ID = "0";
const CHECK_INTERVAL_MS = 60 * 1000;
const holidayjp = useHolidayJP();
// --- 現在の点灯状態 ---
let isOn = false;
// --- 共通ログ関数 ---
const log = (message) => {
const now = new Date();
const timestamp = now
.toLocaleString("ja-JP", {
year: "numeric",
month: "2-digit",
day: "2-digit",
hour: "2-digit",
minute: "2-digit",
second: "2-digit",
hour12: false,
})
.replace(/\//g, "/")
.replace(",", "");
console.log(`[${timestamp}] ${message}`);
};
// --- OpenRGBサーバー起動 ---
const startOpenRGBServer = () => {
const proc = spawn("openrgb", ["--server", "--startminimized"], {
detached: true,
stdio: "ignore",
});
proc.unref();
log("OpenRGB server started");
};
// --- ランダム色生成 (HSV色相ランダム) ---
const generateRandomHexColor = () => {
const hue = Math.floor(Math.random() * 360);
const f = (n) => {
const k = (n + hue / 60) % 6;
return Math.floor(255 * (1 - Math.max(Math.min(k, 4 - k, 1), 0)));
};
const r = f(5);
const g = f(3);
const b = f(1);
const hexColor = [r, g, b]
.map((x) => x.toString(16).padStart(2, "0"))
.join("")
.toUpperCase();
log(`Generated color: #${hexColor}`);
return hexColor;
};
// --- 色をセット ---
const setColor = (hexColor) => {
spawn("openrgb", ["-d", DEVICE_ID, "-c", hexColor], {
stdio: "ignore",
});
log(`Set device ${DEVICE_ID} color to #${hexColor}`);
isOn = true;
};
// --- 消灯する ---
const turnOff = () => {
spawn("openrgb", ["-d", DEVICE_ID, "-c", "000000"], {
stdio: "ignore",
});
log(`Turned off device ${DEVICE_ID}`);
isOn = false;
};
// --- 点灯/消灯判定 ---
const shouldTurnOn = () => {
const now = new Date();
const hour = now.getHours();
const day = now.getDay(); // 0=日曜日, 6=土曜日
const isHoliday = holidayjp.isHoliday(now);
if (day === 0 || day === 6 || isHoliday) {
return true; // 土日または祝日は常に点灯
}
if (hour >= 20 || hour < 5) {
return true; // 平日夜間 20:00〜05:00
}
if (hour >= 8 && hour < 10) {
return true; // 平日朝 08:00〜10:00
}
return false;
};
// --- メインループ ---
const main = async () => {
startOpenRGBServer();
const initColor = generateRandomHexColor();
setColor(initColor);
setInterval(() => {
if (shouldTurnOn() && !isOn) {
const hexColor = generateRandomHexColor();
setColor(hexColor);
return;
}
if (!shouldTurnOn() && isOn) {
turnOff();
return;
}
}, CHECK_INTERVAL_MS);
};
main();
このスクリプトがPCの起動と同時に立ち上がるようにしたい場合は、
$ npm i -g pm2 # 既にインストール済みの場合は不要
$ pm2 start path/to/index.js # スクリプトの場所を指定
$ pm2 startup
$ pm2 save
とすればOKです!
コメント